The following photographic documentation of the process of extracting antimony from its ore made by one of my French correspondents and one of his colleagues. He says:-
"These pictures describe an experiment undertaken a few years ago related to the Dry path of antimony (or Stibnite Path) as followed by E. Canseliet and, I guess (but opinions could differ on this point !) by Fulcanelli. The first group concerns the "liquation", i.e. the preliminary purification of the antimony ore (stibinite). The second series shows the Separation. Except for the ore which came from Bolivia, we worked with commercial products coming from a local chemical dealer."
Separation
The following pictures show the main steps of a 'metallurgic' operation
which will provide purified antimony (metal) from its ore.
Although the alchemical operation is very similar (same tools and actions)
important differences exist, mainly concerning the nature of the Prima
Materia.
During this "profane" operation, we used purified antimony ore from the
Liquation operation. Other products, i.e. iron (nails) and melting salts
came from the commercial channel. Obviously, a real alchemical operation
required much different products !
During this operation iron will react with antimony, Sulphur and the melting
salts. The main reaction will be :
Sb2S3 + 3 Fe ------> 2Sb + 3 FeS
The result of this (non-alchemical again!) reaction will be mainly antimony
metal and scoria of FeS. Tartar and saltspeter will react too, given a
complex series of sub products (KNO2, K2O, KFeO2, KSbO3, ...).
Two purifications will be needed in order to obtain purified antimony which
will show a beautiful star. A yellow vitreous substance will be obtained
too (KFeO2).
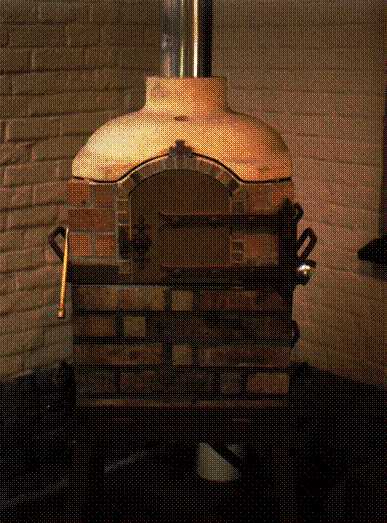
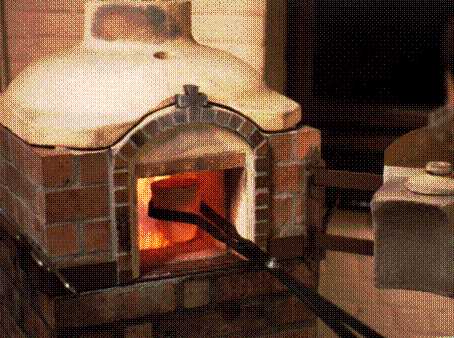
This picture shows a modern "athanor" build by the French group
"Spagy-Nature" and Patrick Riviere. This kind of furnace is been said to be
required for the First Work of the Dry Path. Charcoal was the traditional
fuel but gas is more easy to work with !
This furnace is made of four main parts :
The heating chamber (overall dimensions : 510 x 510 x 510 mm). With about 5
litres volume, this part is made of refractory bricks and could be easily
removed if necessary.
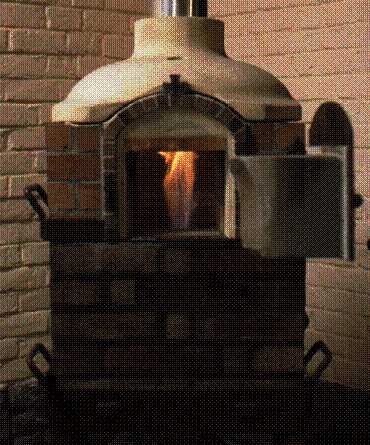
The door. Open, this part could be used as a little table. Closed, the
inner profile of this door has the same shape as the heating part.
The lower chamber (490 mm high). The purpose of this part is to put the
gas burner to the best position.
The stand (620 mm high). Heavy duty made, it will be secured to the floor.
Each part could be easily removed and changed. The range of temperature is
150 oC to 1,100 oC with a 1,200 Kcal/h gas burner.
Special attention is required when you'll install the exhaust pipe. You
have to work in respect with safety rules (Check the junction of the pipe
with the roof !).
In 1988, the price was 9,500 F (VTA included).
This furnace is in fact more "romantic" than useful. My opinion is this
furnace is too heavy. Important savings in materials will be certainly
possible. Another drawback is the small volume of the heating chamber.
Only one crucible (diameter between 40 and 110 mm) can be used in the same
time.
A low pre-heating is required in order to dry crucibles and all parts of
the furnace.
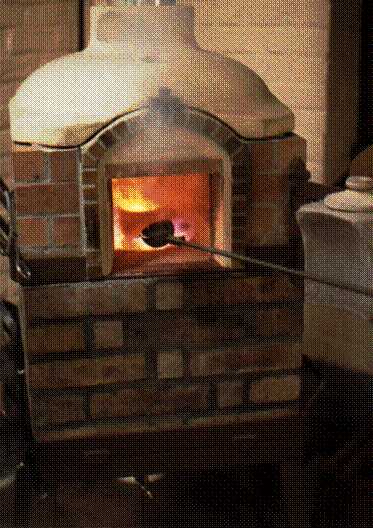
Meanwhile, the ore (in power), the iron (in little ships for instance) and
melting salts are mixed.
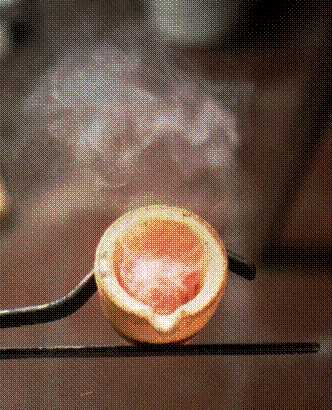
Using a long spoon, the mixture is poured in small amounts. Beware the
toxic fumes !
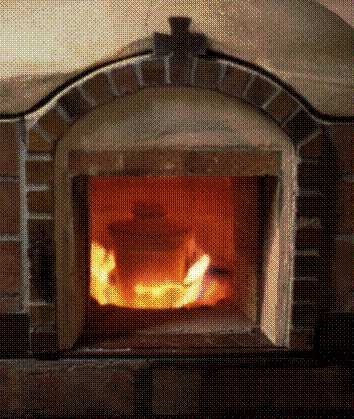
All the mixture is now in the crucible. The top part of the crucible is put
in place.
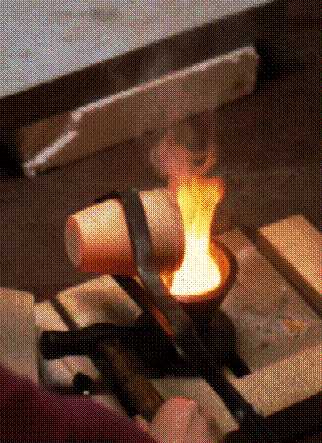
Using long fire tongs, the crucible is now removed from the furnace.
The liquid is now poured in a heated mould. Note: for this operation a
cylindrical one would be more convenient. A conical mould is required for
the following operations.
The help of Pernelle will be certainly welcome !
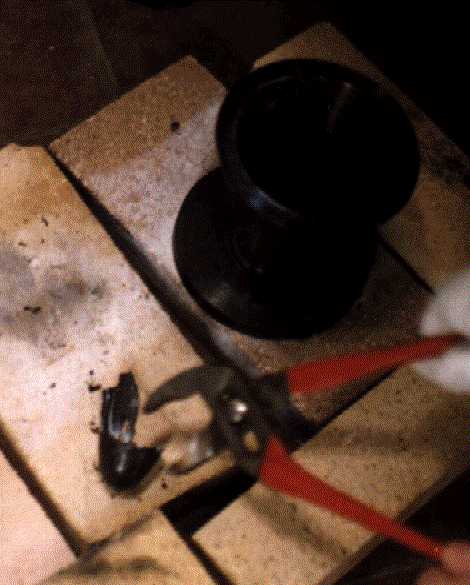
The operation is finished. Using a hammer, scoria will be easily detached.
The result is a little ingot of metal which required to be purified again.